UE Scan Effect
A scan with wallhacks in Unreal Engine 5
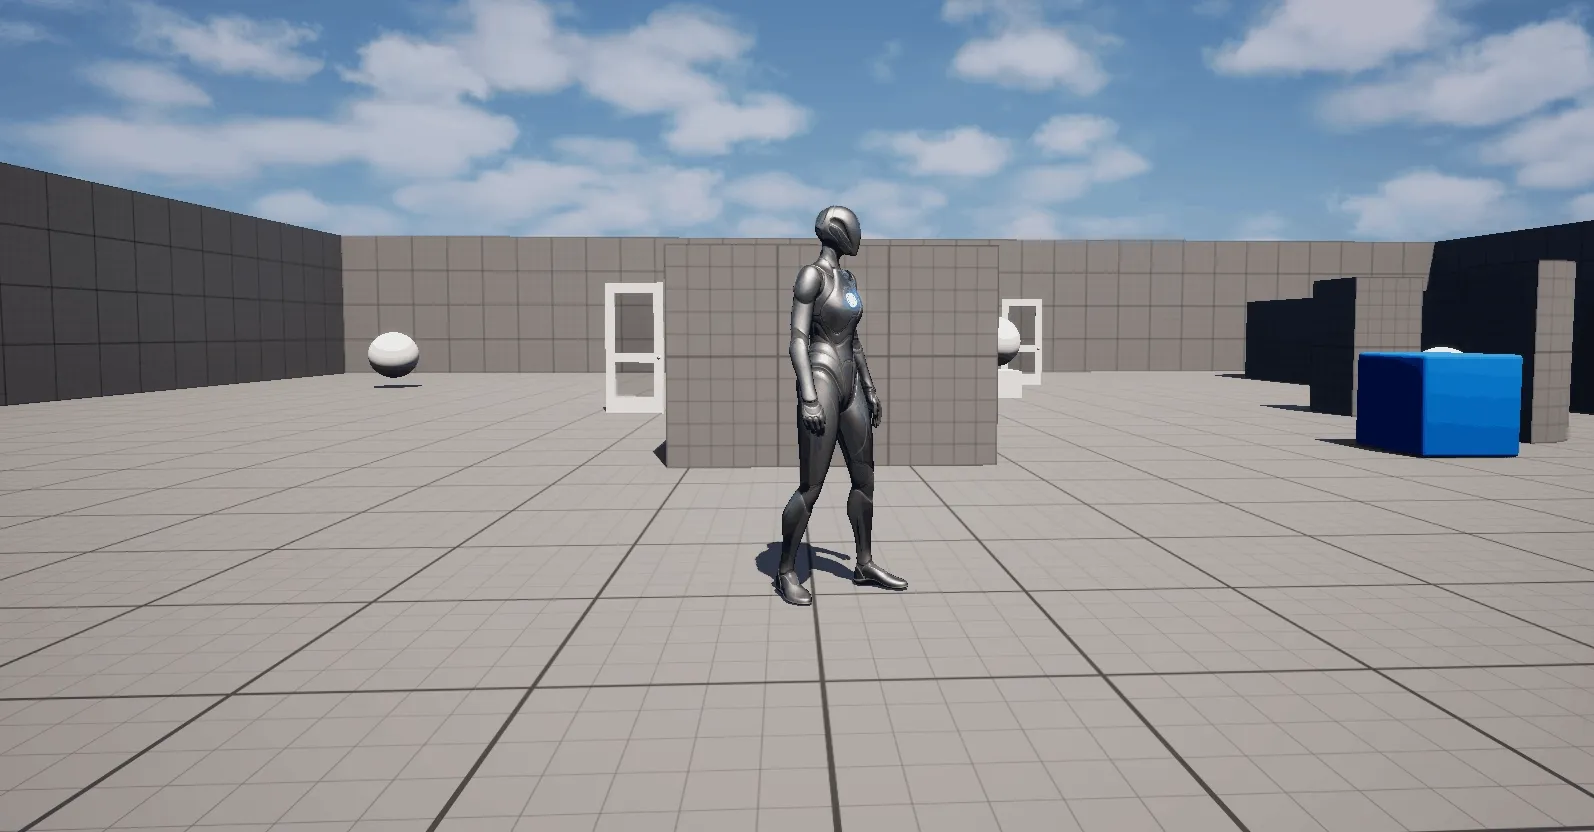
Objective
I wanted to explore post-process materials and how they integrate with Blueprint systems to dynamically control visual effects. The goal was to create several reusable post-process materials and build a framework that allowed them to be enabled, disabled, and blended at runtime within a demo.
Type of Material: Outline Shader
To achieve this, I implemented an outline effect. Outline shaders are commonly used in games to highlight interactable or important objects. I had previous exposure to similar systems in Unity, and wanted to recreate the effect in Unreal Engine using post-process materials.
Part 1: Outlines
I began by researching several outline rendering approaches before settling on the Robert’s Cross method. My reasoning was primarily based on ease of implementation and optimization. The method only requires a small number of depth samples while still producing strong visual results.
The shader works by detecting disparity in scene depth data. I chose to rely entirely on the depth buffer for simplicity and performance, though other implementations may also incorporate normals and color information for more accurate edge detection.
The effect samples neighboring depth values around the current pixel and compares them against the center sample to determine where edges occur. The resulting edge mask is then processed and blended with the scene color to create the final outline effect.
One issue with depth-based outlines is that objects at far distances can share similar depth values, occasionally causing unwanted outlining between surfaces such as floors and walls. Adjusting disparity scaling helped reduce the problem, though combining depth with normal or color sampling would likely improve the result further.
The result was this:

Part 2: Depth Masking
The next challenge was controlling which objects received outlines. To achieve this, I used Unreal’s Custom Depth system.
Objects with custom depth enabled could be isolated inside the post-process material, allowing the outline effect to apply only to selected meshes. This made it possible to dynamically control highlighted objects both through editor settings and at runtime through Blueprint logic.
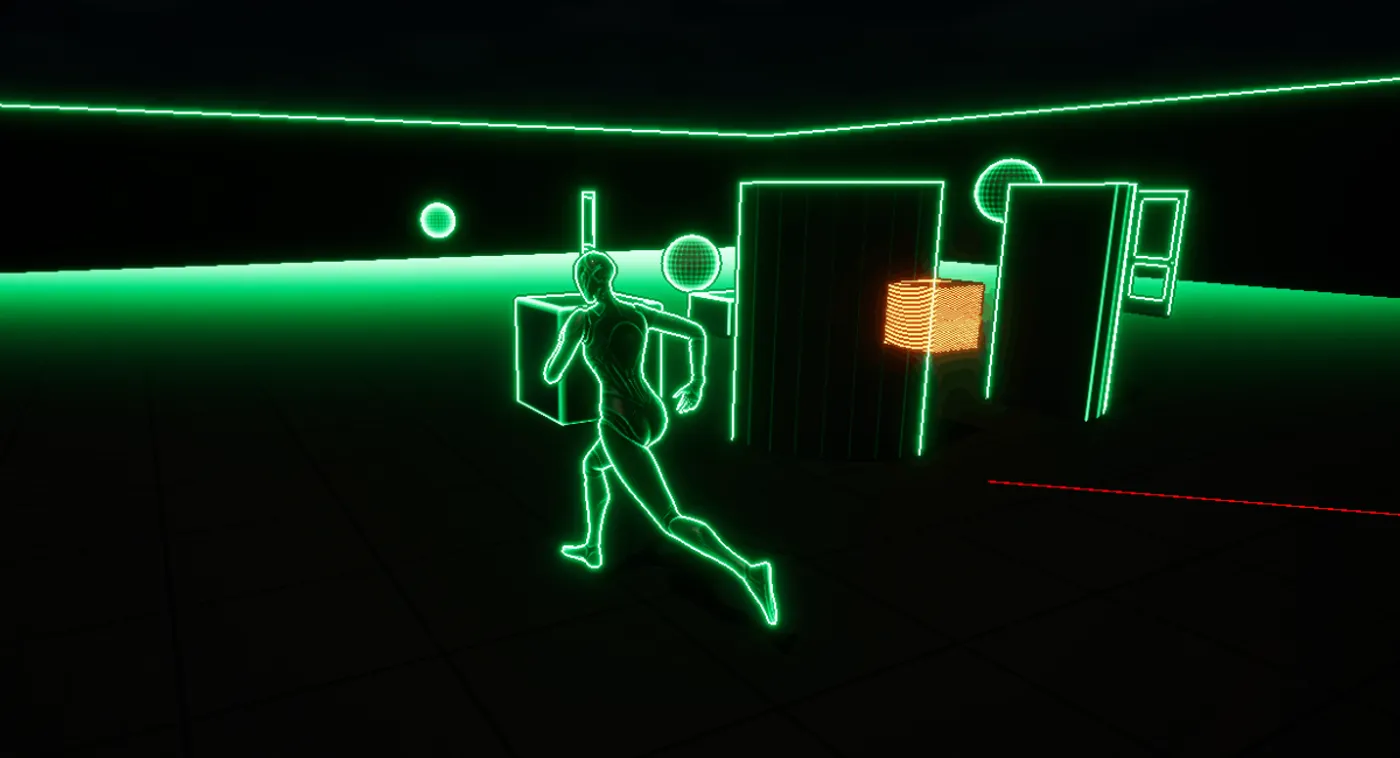
Part 3: Wallhack
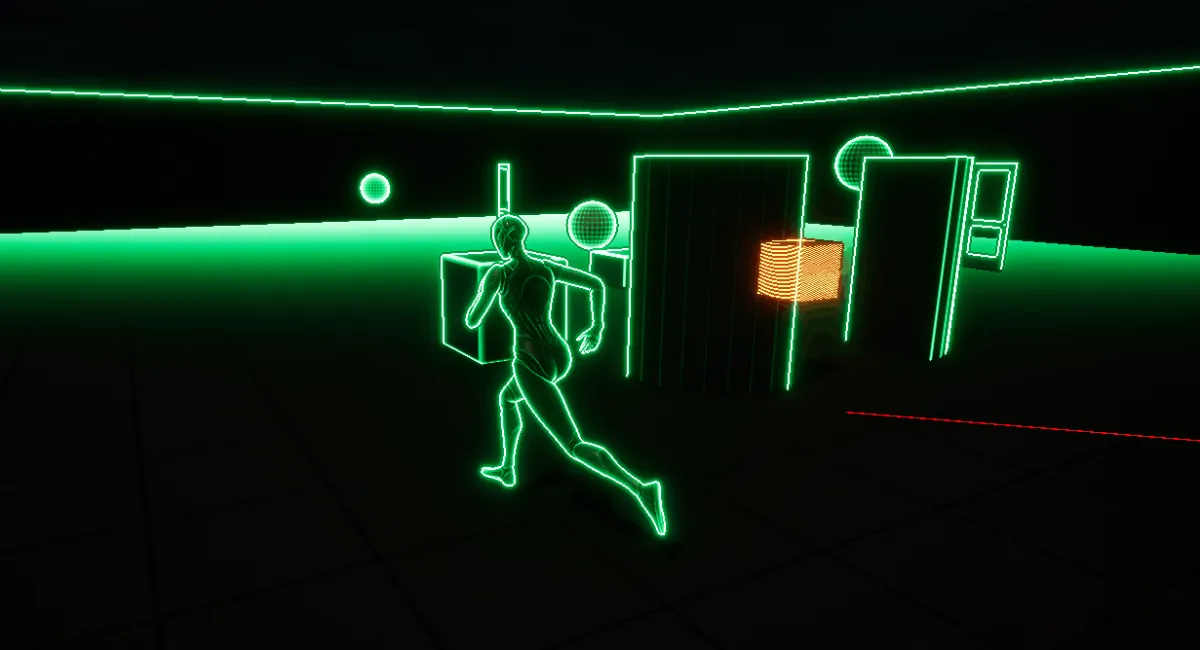
After implementing selective outlines, I expanded the system into a “wallhack” effect where marked objects could render visibly through geometry.
This was achieved by detecting pixels that belonged to objects using custom depth and overriding their final color in the post-process pass. The effect worked alongside the masking system, which made sure outlined objects and wallhacked objects could be handled independently without visual overlap.
The result created a scan-like visualization where selected objects remained visible through the environment.
Part 4: Blueprint Control – Simple On/Off [Deprecated]
Originally, I explored a system where the player could toggle outlines on objects through interaction.
This setup used an interaction system driven by interface, an abstract actor class and reusable component responsible for enabling and disabling custom depth rendering. The component handled toggling custom depth on meshes at runtime, while actors implemented an interaction interface that triggered the effect.
Although functional, the approach became somewhat rigid since objects needed to inherit from a shared base class. The setup also required repetitive manual configuration. While it worked as a prototype, I eventually moved toward a more dynamic scanning system instead.
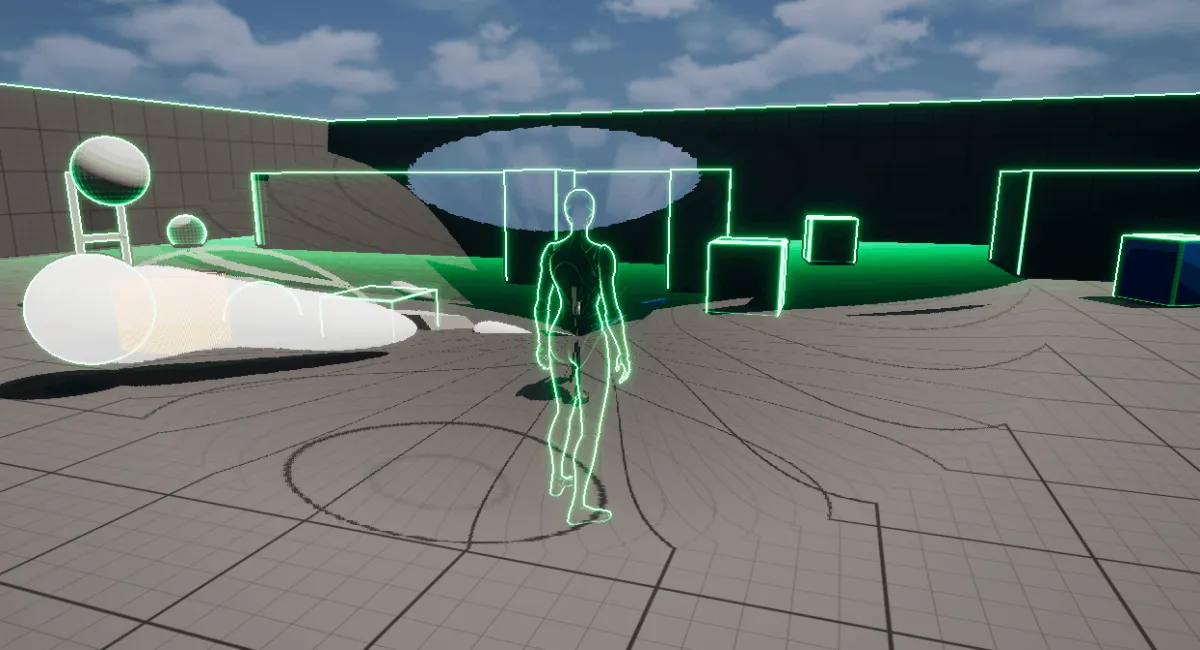
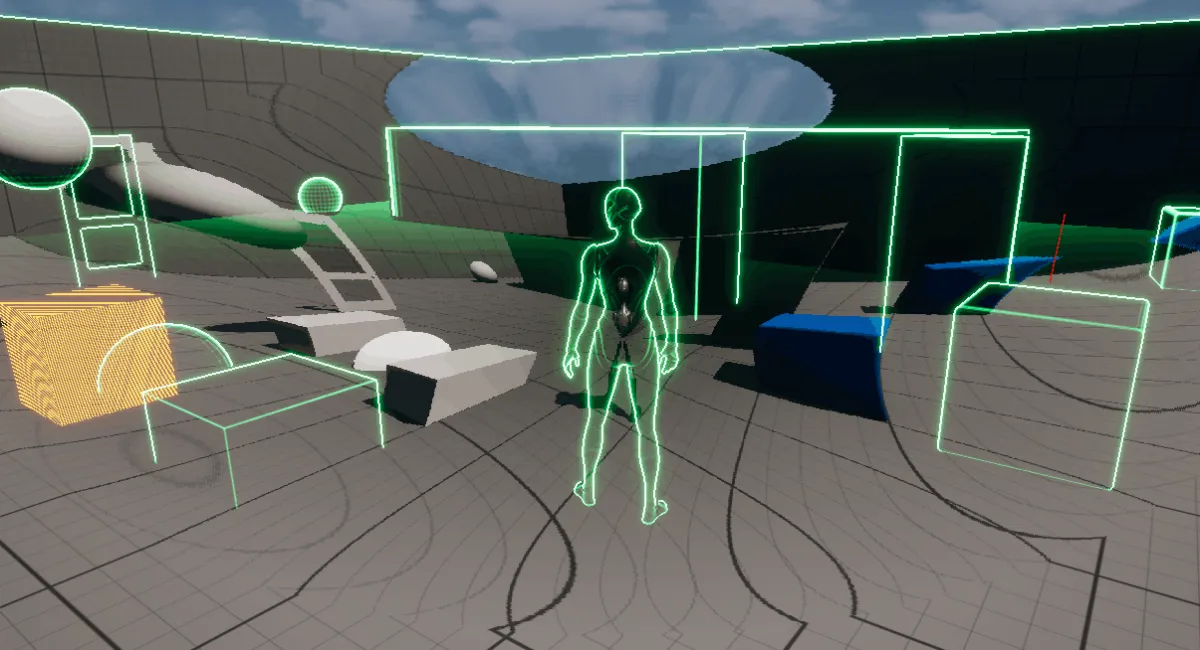
Part 5: Blueprint Control – Dynamic Scan System
The final direction evolved into a full scan effect inspired by radar-style visual pulses.
This required a more advanced Blueprint component capable of:
- Activating and deactivating scans
- Blending effects over time
- Managing post process materials dynamically
- Updating material parameters in real time
- Handling scan state transitions
The system used a dynamic material instance connected to a post-process volume, allowing parameters to update continuously at runtime. Material Parameter Collections were heavily used so multiple materials and functions could share synchronized scan data.
A state-based workflow controlled scan transitions between fading in, active, fading out, and inactive states. Tick was enabled only while transitions were occurring, helping keep the system efficient.
The result was a reusable scanning framework capable of smoothly blending visual effects in and out while updating scan position and timing dynamically.
Part 6: Material Function – Distortion Ring
To create the expanding scan wave, I developed a reusable material function that generated a ring-shaped mask.
The function calculated distance from a world-space origin and used layered masks to create both inner and outer falloff regions. By animating the radius over normalized time, the ring could expand outward like a pulse or shockwave.
The system exposed controls for thickness, radius, and scaling, making it flexible enough to support multiple scan-based effects.

Part 7: Radial Distortion
With the ring masks completed, I used them to drive a radial distortion effect.
The distortion manipulated UV coordinates around the expanding scan ring, creating the appearance of energy compressing and warping the screen as the scan propagated outward.
Additional controls allowed the distortion to feel more dynamic through weighted blending, falloff shaping, and grid-based UV snapping. The combination produced a stylized wave effect that reinforced the scan visualization.
Part 8: Final Integration
Once the individual systems were complete, everything was combined into a unified post-process effect.
The final material system included:
- Radial distortion
- Depth-based outlines
- Custom depth masking
- Wallhack rendering
- Dynamic fade blending
Conclusion
This project ended up being an extremely valuable exploration into Unreal Engine rendering systems and Blueprint architecture.
Through the process I gained experience with:
- Post-process materials
- Material functions and reusable workflows
- Dynamic material instances
- Material Parameter Collections
- Blueprint component architecture
- Tick management and optimization
- Runtime effect blending
- Custom depth rendering
- Shader math and UV manipulation
This was a major learning experience both technically and artistically. It significantly improved my understanding of Unreal Engine’s rendering pipeline and how Blueprint systems can dynamically control complex visual effects.